


The creation of “A Life Of Aquatic Sounds”
In this tutorial I will show you how I created “A Life Of Aquatic Sounds”. We will realize it using a variety of blending mode tricks, photo filters and other useful Photoshop techniques. At the end of this process we will have a beautiful photo manipulation, realized in a short time and a very easily way.
Preview:


Metal Text Tutorial
| 1: We're going to try to get a really metallic chrome effect on our text, using curves and other features in Photoshop. Start off with a large canvas, the larger the better - I'm using 800x800. Make some text and have it a light-medium grey, in the example I'll use #B3B3B3. Start off by using a nice big bevel and emboss with settings similar to these. As usual, the size should be suitable for the size of the image; try to make it look like the example. |
| |
| 2: Now we need to rasterize our layer. Create a new layer by pressing ctrl/cmd + shift + N, then link the new layer with the text layer, and press ctrl/cmd + E to merge it. This will rasterize our text layer. Now we need to adjust the image using curves - press ctrl/cmd + M to open the curves menu, then enter a nice even zig zag, as shownhere. | |
| 3: Go Image || Adjustments || Variations, set the slider at the top to one notch from the bottom, and then click once on the 'Current Pick' box, once on the 'More Blue' box, and then once on the 'More Green' box - now click OK. Press ctrl/cmd + M again to open up the curves menu, and enter a slightly different curve like this. Now add a drop shadow using the default settings by going Layer || Layer Style || Drop Shadow and clicking OK. |
| |
| 4: Now use the layer styles again (Layer || Layer Styles) to add an inner glow using these settings. Go to layer styles again and this time add a second bevel and emboss, with these settings. For the next stage, we need to create a selection - hold ctrl/cmd and click on the main layer in the layers palette. This will select the letter/text - now go Select || Modify || Contract and enter a value of 3. Now go Select || Feather (ctrl/cmd + shift + D) and enter 3 again. | |
| 5: At the bottom of the layers palette, click the 'Create New Fill or Adjustment Layer' button - a circle half black and half white - and click 'Gradient Map'. Click the arrow at the side of the dialogue box that appears (see thisimage), and load the file 'Metals'. Apply the gradient in the bottom left (black > white > black - "Steel Bar"), then set this layer's blending mode as 'overlay'. This should give a similar effect to that seen opposite. If not, try the tutorial a few times - there are several variables such as the curves input that can make quite a difference, and it takes some practise! |
|


Recreate the ‘Bee Movie’ Text Effect
You can see what we’ll be designing with this tutorial in the below image.

Extinction by Chanito
We have a great tutorial sent by one of our readers, Chanito from Panama. In this tutorial he will show you how to create a good 3D type explosion with Adobe Illustrator, Cinema 4D and Adobe Photoshop. We will use basic tools to make this artwork. Good Luck!!!

Colorful Glowing Text Effect in Photoshop
After seeing some recent Type work by Vicenç Fontanet (or, Drasik), in his recent project for “Miniblack“, I just had to give the effect a shot myself in Photoshop. It’s a wondeful little style that could easily be integrated into any dark graphic design where some upbeat text is needed.

Create a Trendy Galactic Poster Design in Photoshop
Galactic space scenes are a popular theme for digital art, they’re packed full of texture and vibrant colour, which are two ingredients of an awesome design! Using Photoshop’s blending modes along with a mix of textures and brushes, let’s get lost in space and create an abstract cosmos poster design.
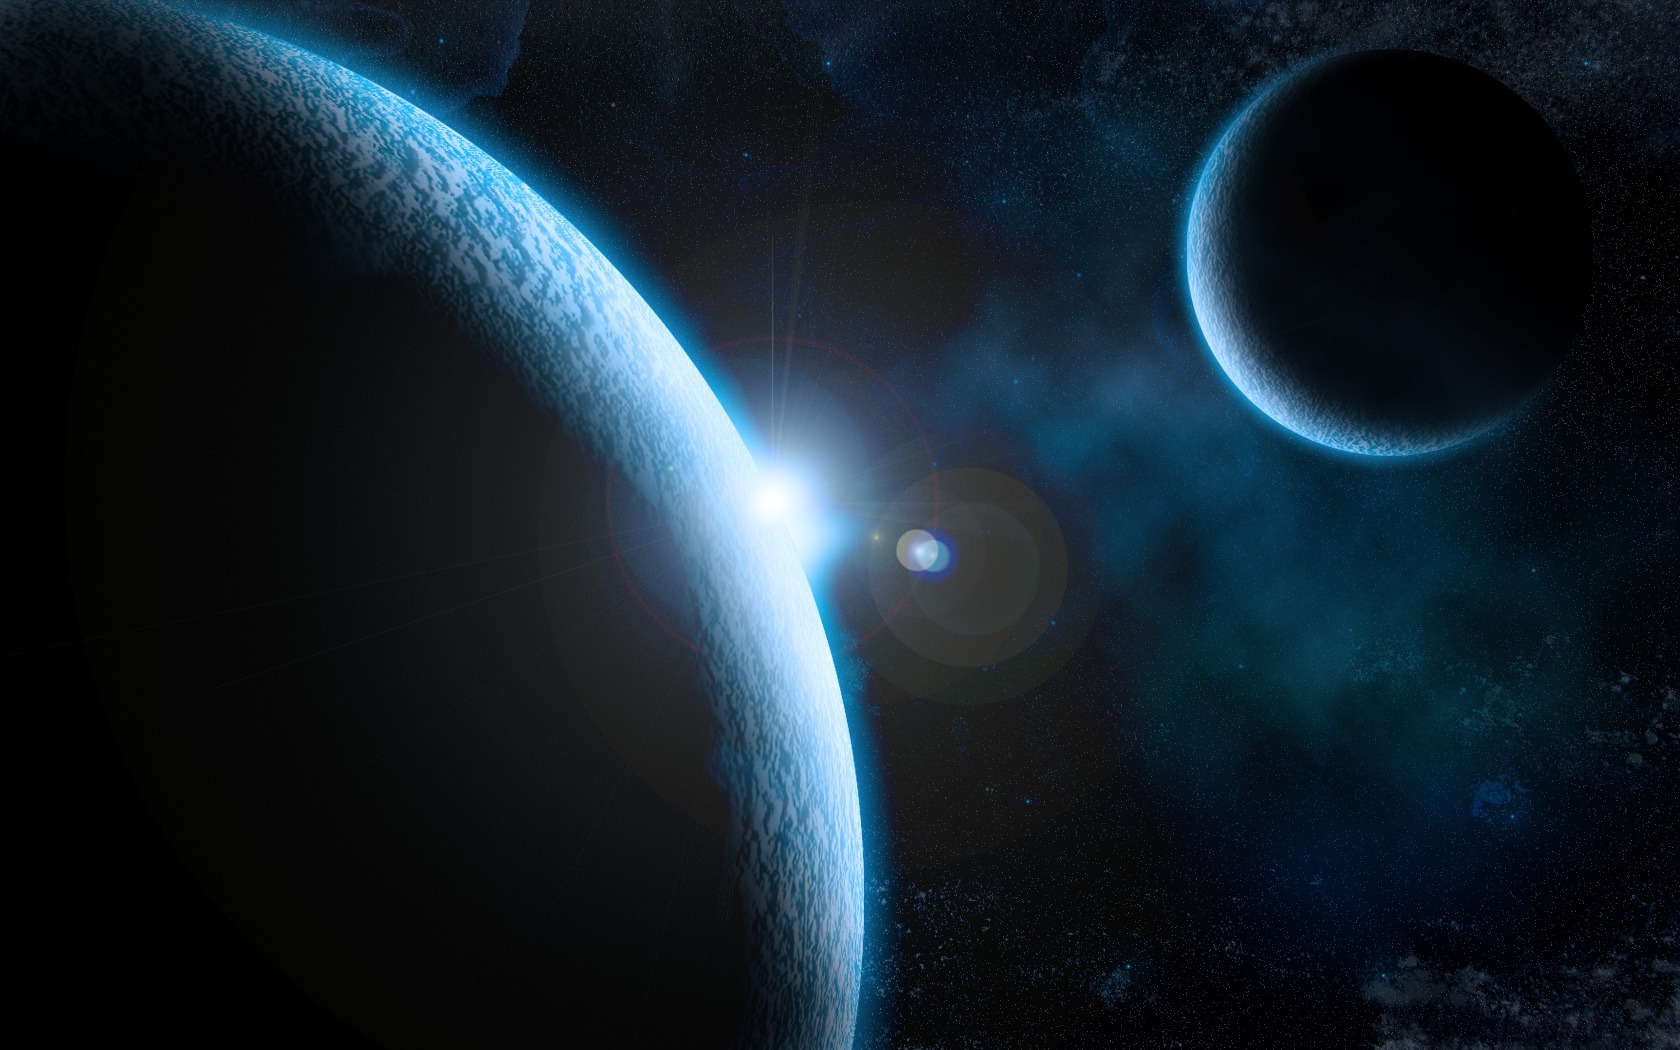
Create a Realistic Space Scene from Scratch with Photoshop
Final result
This tutorial can have two variations, check out both versions below. Remember to click on the image to see the full-scale images of them. The planets’ reflections will be fully adjustable depending on how you want to set up your scene. At the end, we will look at a few quick ways to give the image a completely different look.
Version 1
Version 2

Let’s get started!
Create a Funky Perspective of a Model Riding Digital Volume
Final Image Preview
Take a look at the image we’ll be creating. Want access to the full PSD files and downloadable copies of every tutorial, including this one? Join Psd Plus for just $19/month. You can view the final image preview below or view a larger version here.
Tutorial details:
- Programs: Adobe Photoshop CS4 and Modo
- Difficulty: Advanced
- Estimated Completion Time: 5-7 h
